Slicer3::Eclipse
Contents
Howto Setup Eclipse – Slicer3 Development Environment:
PreRequirements for compiling Slicer3:
Installing Eclipse:
I installed Eclipse 3.3 M4, but this should also be applicable with Eclipse Versions under this. Download Eclipse from www.eclipse.org and unpack the downloaded archive to the destination you want. You start Eclipse with ./eclipse from the base directory of your eclipse installation.
Configure Eclipse:
To get Eclipse handling these big source packages in a good manner it is good to tweak a little the properties of the eclipse startup. First it is very advisable to use Eclipse with JRE 1.5. Download it from [1] and put it in your project folder (or elsewhere). In addition I increased the size of the memory Java can use with the lower bound switch -Xms and the upper bound -Xmx.
So my Eclispe command looks like this: ./eclipse -Xms64m – Xmx512m -vm /<path to your jre base-directory>/bin/java
Because sun only offers a java JRE for AMDX64 and not for Xeon CPU's it is also possible to use the JRE from BEA jorckit.
This should be faster but also a little less stable (I didn't feel that something was unstable!)
Modules for Eclipse you need:
Before integrate the source-code into Eclipse we need two separate modules.
- CDT – C++ Environment: http://www.eclipse.org/cdt/downloads.php
- SubClipse: http://subclipse.tigris.org/install.html
I use right now CDT 4.0 - nightly build which is much more feature rich then 3.1.
On the other Hand this is still under development and though not stable in any situation.
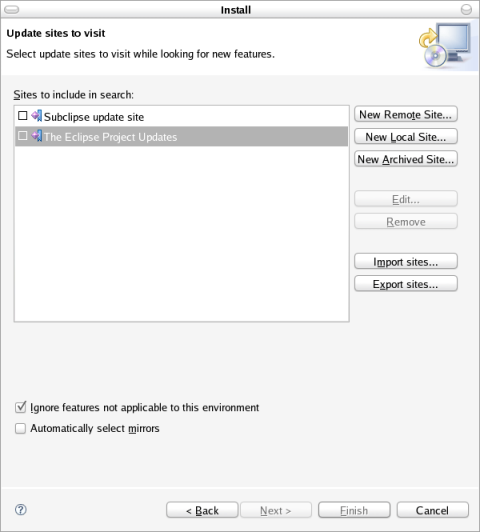
- To install these Modules, start Eclipse and go to Help->Software Updates->Find And Install
- Click on “Search for new features to install” and then on “Next”:
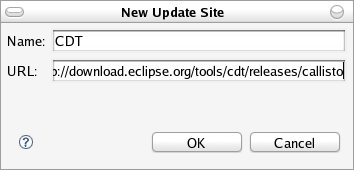
- Now click the “New Remote Site...” Button and insert the appropriate informations in the input fields.
- For CDT this should look like this:
- For SubClipse:
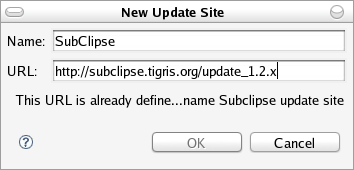 After adding these to module Site just click on the “Next” Button and Install both items.
You will be prompt to restart Eclipse. After the restart you're ready to get the sources into Eclipse.
Creating Project and getting the Source-Code for it:
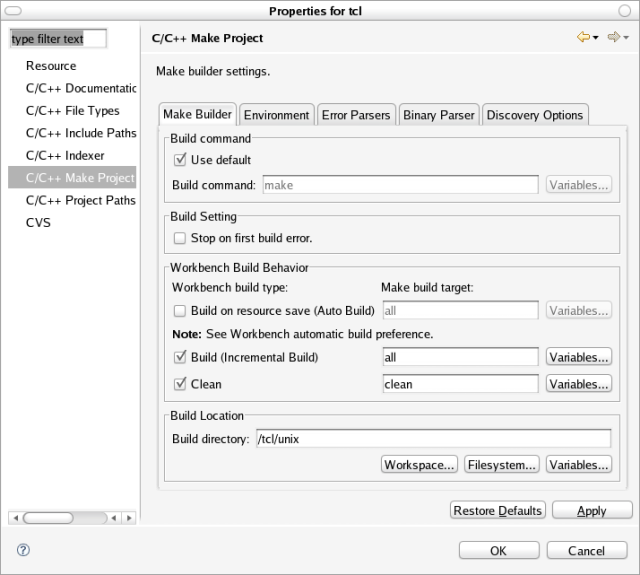
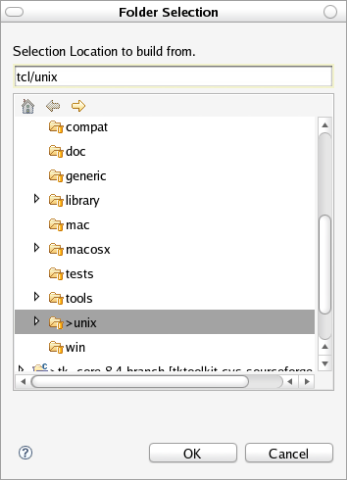
Now that you have setup eclipse we can focus an getting the code and compile it. One of the disadvantages of eclipse is the inability to use Cmake and CmakeLists.txt files directly. So some manual configuration is still necessary. But hopefully the Eclipse on Linux Project will close this gap in the future. Go to the na-mic.org Slicer3-Development website and create for each listed application a new project in Eclipse. For CVS based projects create a new CVS-Checkout-Project and for SVN the SVN counterpart. Then to checkout the source select the branch or the head sources and create a “Standard C++ Makefile Project”. (right now it is recommend to use for tcl and tk the 8.4 branch, because till now VTK, KWWidgets and ITK are not modified to match tcl/tk 8.5) Configure all projects in the sequence as stated above. All projects besides Cmake, VTK, ITK, KWWidgets and Slicer3 itself are autoconf/ configure based application. For tcl/tk it is necessary to change the default source path to unix.
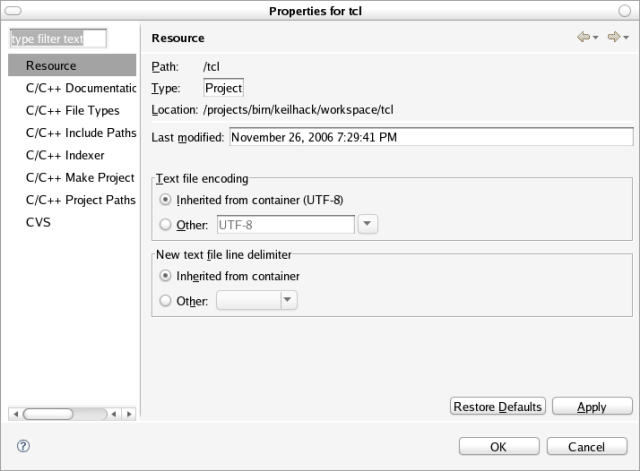
- Right-Click on the project folder
- click on properties (or just press Alt+Enter)
- then at C/C++ Make Project
- click on “Workspace...”
- select the unix folder from tcl or tk
Compile the projects:
After successfully configuring all projects eclipse should start automatically building the application. If this is not the case, right click on project and select “Build Project” and see how the project is compiling.

