Difference between revisions of "Documentation:Nightly:Registration:RegistrationLibrary:RegLib C38"
From Slicer Wiki
| (One intermediate revision by the same user not shown) | |||
| Line 27: | Line 27: | ||
== Description == | == Description == | ||
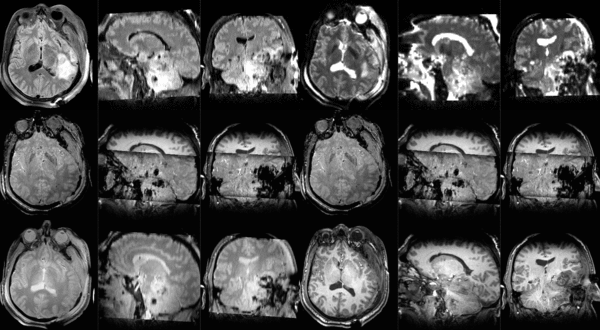
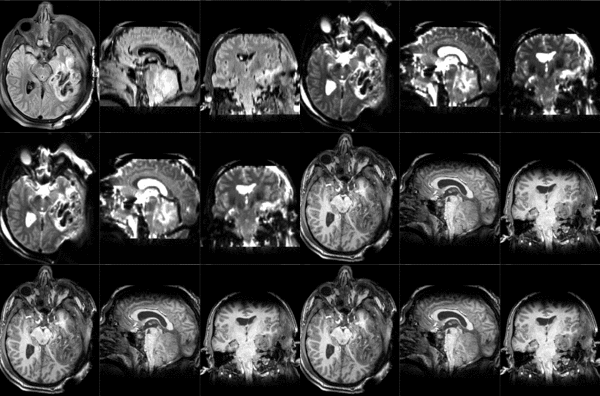
| − | This is an example of a multi-contrast dataset acquired for traumatic brain injury (TBI). We have many scans we seek to align to a common reference. Since all scans are acquired in short succession, they have only little initial misalignment, but they may differ significantly in contrast and field of view. | + | This is an example of a multi-contrast dataset acquired for traumatic brain injury (TBI). We have many scans we seek to align to a common reference. Since all scans are acquired in short succession, they have only little initial misalignment, but they may differ significantly in contrast and field of view. <br> |
| + | '''Approach:''' we register all the scans within each exam to the T1. Because of the strong differences in field of view (FOV), we limit registration degree of freedom to 6 DOF (rigid transformation only). | ||
== Modules used == | == Modules used == | ||
| Line 37: | Line 38: | ||
== Video Screencasts == | == Video Screencasts == | ||
#[[Media:RegLib_C38.mov|registering all other images to T1, apply transform without resampling and save.]] (8.5 min, 37MB) | #[[Media:RegLib_C38.mov|registering all other images to T1, apply transform without resampling and save.]] (8.5 min, 37MB) | ||
| − | |||
| − | |||
| − | |||
| − | |||
== Procedure == | == Procedure == | ||
| Line 55: | Line 52: | ||
##leave all other settings at defaults | ##leave all other settings at defaults | ||
##click: Apply; runtime < 10 sec (MacPro QuadCore 2.4GHz) | ##click: Apply; runtime < 10 sec (MacPro QuadCore 2.4GHz) | ||
| − | #this will generate the alignment transform. The demo screencast above shows how to apply the result transforms without resampling and then saving the images under a new name. It also shows where in the saved image the new orientation is stored. | + | #this will generate the alignment transform. The demo screencast above shows how to apply the result transforms without resampling and then saving the images under a new name. It also shows where in the saved image the new orientation is stored. Note that the screencast was done for version 4.2.0. If you're using a more recent version, the BRAINS registration tool may automatically place the moving image into the result transform. |
#repeat steps above for all the other images: FLAIR, T1post, SWI,EP . The only 2 settings to change are the ''Moving Image'' and the ''Result Transform'' | #repeat steps above for all the other images: FLAIR, T1post, SWI,EP . The only 2 settings to change are the ''Moving Image'' and the ''Result Transform'' | ||
Latest revision as of 14:02, 3 September 2013
Home < Documentation:Nightly:Registration:RegistrationLibrary:RegLib C38Contents
Slicer Registration Library Case 38: TBI
Input
|

|
|
|

|
|
|
|
|
| T1pre | FLAIR | T1post | coronal T2 | SWI | EP50 | EP75 | EP100 |
Description
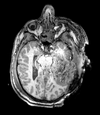
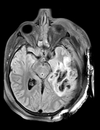
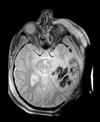
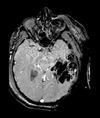
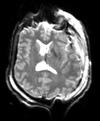
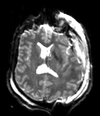
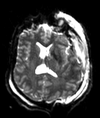
This is an example of a multi-contrast dataset acquired for traumatic brain injury (TBI). We have many scans we seek to align to a common reference. Since all scans are acquired in short succession, they have only little initial misalignment, but they may differ significantly in contrast and field of view.
Approach: we register all the scans within each exam to the T1. Because of the strong differences in field of view (FOV), we limit registration degree of freedom to 6 DOF (rigid transformation only).
Modules used
Download (from NAMIC MIDAS)
- RegLib_C38.mrb (input data, Slicer mrb file. 42 MB).
Video Screencasts
Procedure
- Load all datasets via drag&drop or via "AddData / AddVolume" ... do not center the volumes, since they have reasonable alignment at the outset
- the registration procedure below is identical for all other scans in the sequence, i.e. just replace the Moving Volume and the Slicer Linear Transform", everything else can stay at default
- open the General Registration (BRAINS) module
- Fixed Image Volume: T1
- Moving Image Volume: T2
- Output Settings:
- Slicer BSpline Transform": none
- Slicer Linear Transform: create new transform, rename to "Xf1_T2"
- Output Image Volume: none
- Registration Phases: check box for Rigid only
- leave all other settings at defaults
- click: Apply; runtime < 10 sec (MacPro QuadCore 2.4GHz)
- this will generate the alignment transform. The demo screencast above shows how to apply the result transforms without resampling and then saving the images under a new name. It also shows where in the saved image the new orientation is stored. Note that the screencast was done for version 4.2.0. If you're using a more recent version, the BRAINS registration tool may automatically place the moving image into the result transform.
- repeat steps above for all the other images: FLAIR, T1post, SWI,EP . The only 2 settings to change are the Moving Image and the Result Transform
