Documentation/Nightly/Extensions/IASEM
|
For the latest Slicer documentation, visit the read-the-docs. |
WARNING: This module is Work in Progress, which means:
|
Introduction and Acknowledgements
|
Acknowledgments:
This work is supported by NLM, and the Slicer Community. | |||||
|
Extension Description
This extension is a compilation of modules which are useful for segmentation and processing of IASEM Electron Microscopy images. It adds modules which help in general with segmenting large data sets, and has components to deal with images in multi-resolutions.
IASEM stands for ion-abrasion scanning electron microscopy, some times also call dual-beam or focused ion-beam scanning electron microscopy (FIBSEM).
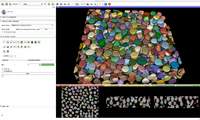
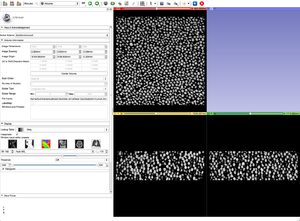
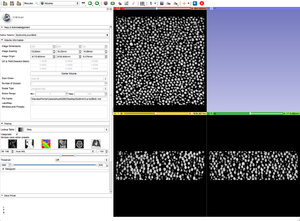
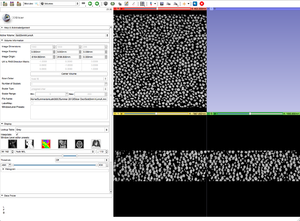
Sample data can be downloaded from http://placid.nlm.nih.gov/community/22, in particular the dateset below is the GoldBeads.
Modules
- BinShrink Image Filter
- SpacingAwareCurvatureDiffusion Image Filter
- IASEM Import
- DoubleThreshold Editor Effect
- BinaryWatershed Editor Effect
Use Cases
BinShrink Image Filter
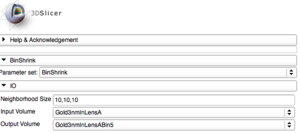
Bin Shrink is one of the modules used to help ease the process of segmentation. By stipulating a neighborhood size, 5x5x5 for example, it will average the neighboring pixels within that 5x5x5 region and turn them into one pixel. Applying the Bin Shrink will result in reduced resolution and a less noisy image. Based on the features you want to segment, you can apply a more aggressive bin or a less aggressive bin based on the complexity of your features of interest. Binning the image does not significantly affect the quality of the image, it also reduces the amount of memory the computer needs to process the data, so the more an image is binned the faster slicer will work and the more free memory you will have.
SpacingAwareCurvatureDiffusion Image Filter
IASEM Import
IASEM Import performs streaming image file reading while reducing the resolution and extracting a region of interest.
When dealing with large microscopy image files, the whole volume can be loaded at low resolutions by specifying "Shrink Factors" of "10,10,10". This will still read the entire volume but perform averaging to reduce the resolution. However if "Disable Z-Averaging" is selected not averaging will be performed in the Z-direction, and the amount of data read will be reduced.
After an area of interest is visually determine the ROI tool can be used to define a region of interest, which can be specified as the "Image ROI" and a sub-volume can be loaded at a higher resolution.
DoubleThreshold Editor Effect
BinaryWatershed Editor Effect
Walk Through
Multi-Resolution Label Map Segmentation
When a data set is too large we can use a combination of tools and modules to help speed things up. We can BinShrink the gray scale to reduce resolution and size, and we can crop the region of interest. Cropping, however distorts the dimensions of the volume and we must resample it to match the original gray scale when putting them back together.
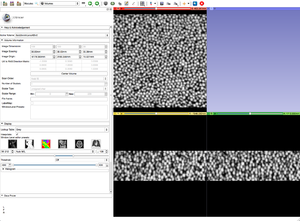
- Load gray scale data.
- Go to the Modules search bar, search and select "BinShrink". Go to the BinShrink settings, change the input to the original gray scale image and change the output to "create a new volume".
- Apply the BinShrink Image Filter.
- Create a Region of Interest (ROI) using the Fiducial Module in the Slicer Toolbar.
- Use the Crop Volume module to crop the region of interest. Make sure to check the box for Voxel based cropping, since this is a gray scale and not a label map.
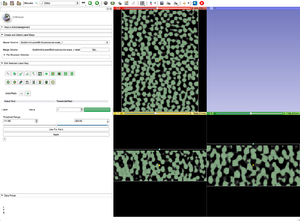
- Apply Threshold Effect, or any other editing technique, to your gray scale image to create a label map.
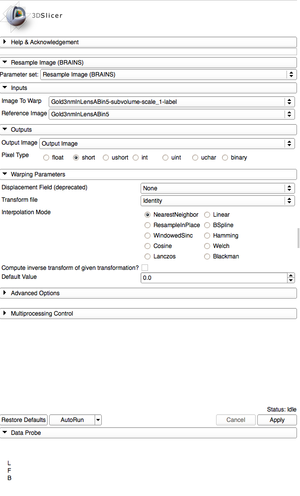
- Resample the label map so its dimensions match those of the gray scale image.
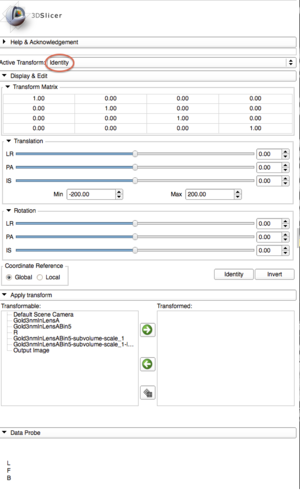
- Using the Transforms module, create a new transform and rename it "Identity".
- Search and select "Resample Image (BRAINS)" in the modules search bar. Go to the Resample settings to resample the label map.
- The Image to Warp should be the label map.
- The Reference Image should be the BinShrink gray scale image.
- Create a new Output Image.
- Change the pixel type to "short".
- Change the Transform file to "Identity".
- Change the Interpolation Mode to "NearestNeighbor".
- Apply the Resampling.
- NearestNeighbor must be used when resampling label maps.
Tutorials
Similar Extensions
References
Information for Developers
| Section under construction. |
