Difference between revisions of "Documentation/Nightly/Report a problem/UploadData"
From Slicer Wiki
m |
|||
| Line 53: | Line 53: | ||
=== Uploaded archive === | === Uploaded archive === | ||
| − | <gallery widths= | + | <gallery widths=400px heights=220px perrow=2> |
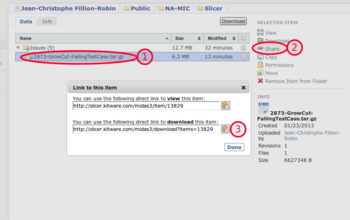
File:Slicer-Issue-Upload-data-to-midas share archive.png|'''Step 1''': Select the uploaded archive (1), click on "Share" (2) and copy the download link (3). | File:Slicer-Issue-Upload-data-to-midas share archive.png|'''Step 1''': Select the uploaded archive (1), click on "Share" (2) and copy the download link (3). | ||
File:Slicer-Issue-Upload-data-to-midas share archive 2.png|'''Step 2''': Reference download link in the "Steps to reproduce" | File:Slicer-Issue-Upload-data-to-midas share archive 2.png|'''Step 2''': Reference download link in the "Steps to reproduce" | ||
| Line 59: | Line 59: | ||
=== Uploaded folder === | === Uploaded folder === | ||
| − | <gallery widths= | + | <gallery widths=400px heights=220px perrow=2> |
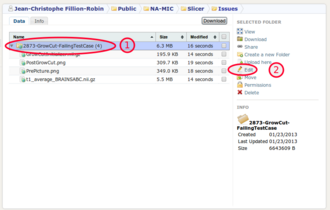
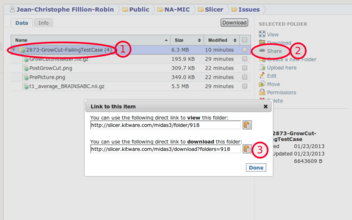
File:Slicer-Issue-Upload-data-to-midas share folder.png|'''Step 1''': Select the uploaded folder (1), click on "Share" (2) and copy the download link (3). | File:Slicer-Issue-Upload-data-to-midas share folder.png|'''Step 1''': Select the uploaded folder (1), click on "Share" (2) and copy the download link (3). | ||
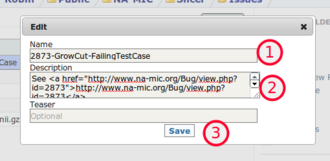
File:Slicer-Issue-Upload-data-to-midas share folder 2.png|'''Step 2''': Reference download link in the "Steps to reproduce" | File:Slicer-Issue-Upload-data-to-midas share folder 2.png|'''Step 2''': Reference download link in the "Steps to reproduce" | ||
</gallery> | </gallery> | ||
Revision as of 21:11, 23 January 2013
Home < Documentation < Nightly < Report a problem < UploadDataThis document presents the steps allowing to share and associate a dataset with an issue.
Contents
Create account
1. If not yet done, create an account on our dedicated server: http://slicer.kitware.com/ by clicking on "Register" in the upper right corner.
Create directory structure
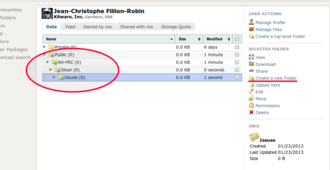
2. Create the following structure in your user public folder clicking on the "Create new folder" link
Upload options
3. There are now two options:
Archive
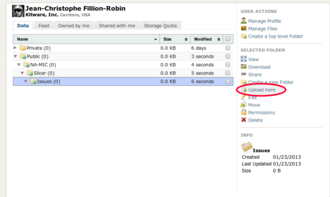
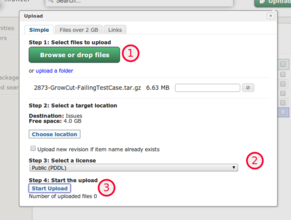
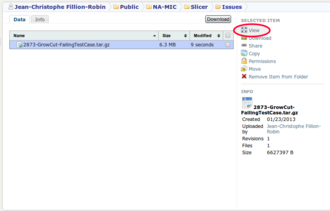
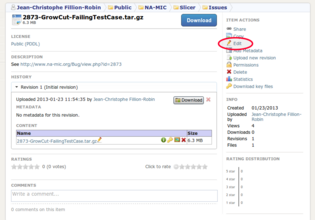
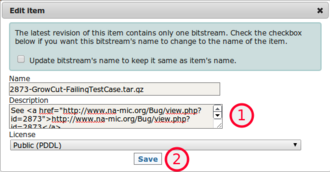
3.1. Create and upload a TGZ archive.
|
|
An example of archive: http://slicer.kitware.com/midas3/item/13829 |
Folder
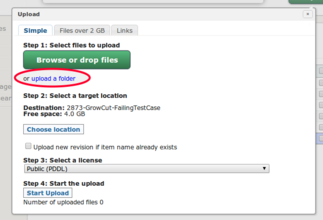
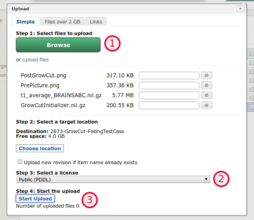
3.2. Upload a folder containing all the data.
|
|
An example of folder: http://slicer.kitware.com/midas3/folder/918 |
4. Reference the data in the issue tracker
