Difference between revisions of "Documentation/4.2/SlicerApplication/SavingData"
| Line 34: | Line 34: | ||
Image:SlicerApplication-SaveData-SelectSceneAndData-mj.png|Select Scene Description and Modified Data | Image:SlicerApplication-SaveData-SelectSceneAndData-mj.png|Select Scene Description and Modified Data | ||
Image:SlicerApplication-SaveData-SelectModifiedData-mj.png|Select Modified Data Only | Image:SlicerApplication-SaveData-SelectModifiedData-mj.png|Select Modified Data Only | ||
| − | Image:SlicerApplication-SaveData-CreateMedicalRecordBundle-mj.png|Create Medical | + | Image:SlicerApplication-SaveData-CreateMedicalRecordBundle-mj.png|Create Medical Reality Bundle Containing the Scene |
</gallery> | </gallery> | ||
Revision as of 18:59, 24 November 2012
Home < Documentation < 4.2 < SlicerApplication < SavingData
Introduction
|
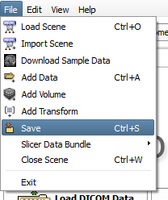
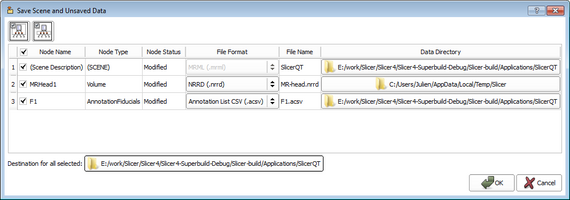
It is possible to save the current scene (including all scene snapshots, fiducial lists, etc.) and/or individual datasets. The "Save Data" panel is accessed through the File menu using File->Save, or by using the CTRL-S keyboard shortcut. Note: in order to provide a rich set of options for saving data, the Save Scene and Unsaved Data interface does not behave in the way that Windows data explorer and Gnome file browser behave. The user is encouraged to read this documentation carefully, and be mindful when specifying save options. Consider using this interface in the following three steps:
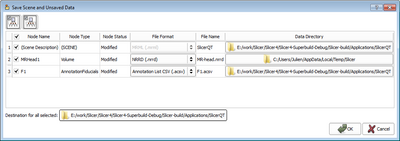
Select What to SaveWhen invoked, Slicer will select the scene and any modified datasets for saving by default. This set of selections can be overridden by manipulating the checkboxes in the leftmost column. In addition to the checkbox in the 'Node Name column header, two buttons in the panel's upper left provide convenient selection shortcuts for commonly-used selection states arrayed in the interface.
Select Save Destinations
Modify Filenames & Formats
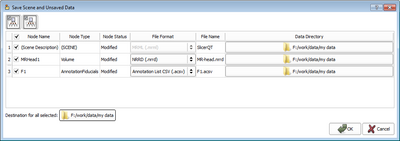
Specifying a scene file to save: The Scene Description entry is always listed in the top row of the table. If a scene has already been loaded from a MRML file, then its filename is presented as the default choice. To save the scene into a new MRML file, either provide an alternate file name, or provide a new Data Directory. The GUI panel is shown below: Supported formatsPlease refer to the supported data format page.
|

