Difference between revisions of "Documentation/Nightly/Modules/ScreenCapture"
(Added Linux setup instructions) |
|||
| Line 55: | Line 55: | ||
=== Setting up ffmpeg === | === Setting up ffmpeg === | ||
FFmpeg library is not packaged with 3D Slicer due to licensing restrictions. The FFmpeg library has to be downloaded and set up only once and 3D Slicer will remember its location. | FFmpeg library is not packaged with 3D Slicer due to licensing restrictions. The FFmpeg library has to be downloaded and set up only once and 3D Slicer will remember its location. | ||
| − | + | ==== Windows setup instructions ==== | |
| − | + | * Download ffmpeg from here: https://ffmpeg.org/download.html (click Windows icon, select a package, for example 'Download FFmpeg64-bit static') | |
| − | + | * Extract downloaded package (for example, to ''C:\Users\Public'') | |
| − | + | * In ''Advanced'' section, ''ffmpeg executable'': select path for ''ffmpeg.exe'' (for example, ''C:\Users\Public\ffmpeg-20160912-bc7066f-win32-static\bin\ffmpeg.exe'') | |
| − | + | ||
| − | + | ==== MacOS setup instructions ==== | |
| − | + | * Install homebrew (from http://brew.sh/) | |
| − | + | * Run: ''brew install ffmpeg'' | |
| + | * In ''Advanced'' section, ''ffmpeg executable'': select ''/usr/local/bin/ffmpeg''. | ||
| + | |||
| + | ==== Linux setup instructions ==== | ||
| + | Run these commands from the terminal: | ||
| + | <pre> | ||
| + | git clone https://git.ffmpeg.org/ffmpeg.git ffmpeg | ||
| + | cd ffmpeg | ||
| + | sudo apt-get install libx264-dev | ||
| + | ./configure --enable-gpl --enable-libx264 --prefix=${HOME} | ||
| + | make install | ||
| + | </pre> | ||
| + | The binary will be in ${HOME}/bin/ffmpeg | ||
<!-- ---------------------------- --> | <!-- ---------------------------- --> | ||
Revision as of 20:06, 15 September 2016
Home < Documentation < Nightly < Modules < ScreenCapture
|
For the latest Slicer documentation, visit the read-the-docs. |
Introduction and Acknowledgements
|
This work was was funded by Cancer Care Ontario and the Ontario Consortium for Adaptive Interventions in Radiation Oncology (OCAIRO). |
Module Description
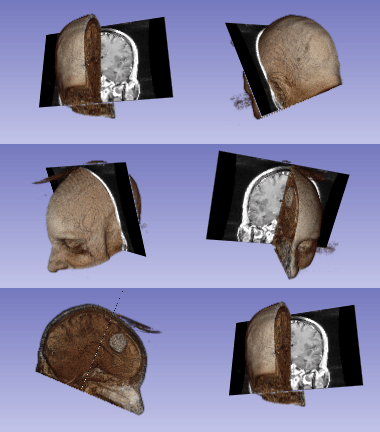
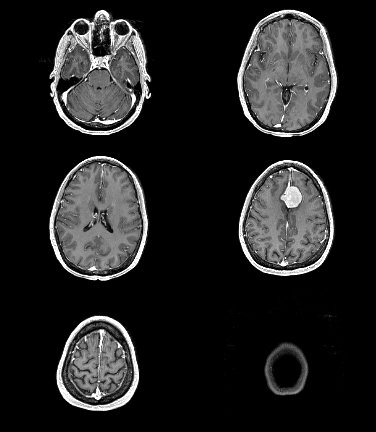
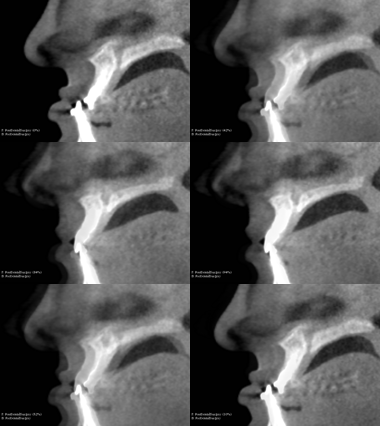
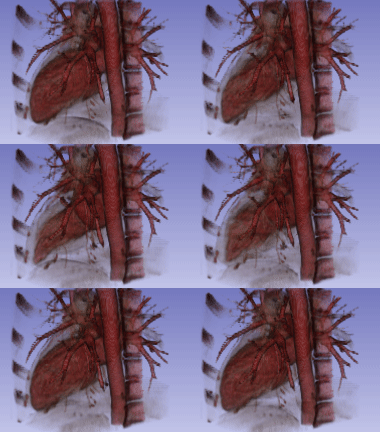
This module is for acquiring screen capture videos of Slicer viewers. The module can capture image sequences from slice and 3D views and export them as a sequence of images or a video file.
Use Cases
Panels
- Input
- View to capture: select slice or 3D view that the content will be captured of
- Animation mode:
- 3D rotation: Acquire video of a rotating 3D view (for 3D viewer only). For smooth repeated display of a 360-degree rotation it is recommended to choose 31 or 61 as "Number of images".

- slice sweep: Acquire video while going through selected range of image frames (for slice viewer only).

- slice fade: Acquire video while fading between the foreground and background image (for slice viewer only).

- sequence: Acquire video while going through items in the selected sequence browser. Requires installation of Sequences extension.

- 3D rotation: Acquire video of a rotating 3D view (for 3D viewer only). For smooth repeated display of a 360-degree rotation it is recommended to choose 31 or 61 as "Number of images".
- Output
- Number of images: Defines how many frames are generated in the specified range. Higher number results in smoother animation but larger video file.
- Output directory: Image frames or video file will be saved in this directory.
- Video export: If checked then exported images are converted to a single video file in the selected format. Requires ffmpeg.
- Video file name: File name of the created video.
- Video length: Set total replay time of the video by adjusting recommended replay speed.
- H264: modern compressed video format, compatible with most contemporary video players.
- MPEG4: commonly used compressed video format, mostly compatible with older video players.
- Animated GIF: file format that provides lower quality images but allows embedding animations into webpages as simple images.
- Advanced
- ffmpeg executable: Path to ffmpeg executable. Requires download and installation of ffmpeg. Only needed if video export is selected.
- Video extra options: Options for ffmpeg that controls video format and quality. Only needed if video export is selected.
- Parameters -i (input files), -y (overwrite without asking), -r (frame rate) -start_number are specified by the module and therefore should not be included in the extra options.
- Examples:
- Add a watermark image (MyLogo.png, 10 pixels from the top-right corner): -vf movie=MyLogo.png[watermark];[in][watermark]overlay=main_w-overlay_w-10:10[out]
- Set grayscale animated GIF width to 200 pixels: -vf format=gray,scale=200:-1
- Set color animated GIF width to 200 pixels: -filter_complex [0:v]scale=200:-1[scaled];[0:v]palettegen[pal];[scaled][pal]paletteuse
- More information about available options:
- https://trac.ffmpeg.org/wiki/Encode/H.264
- Image file name pattern: Defines image file naming pattern. %05d will be replaced by the image number (5 numbers, padded with zeros). Only needed if video export is not selected.
Setting up ffmpeg
FFmpeg library is not packaged with 3D Slicer due to licensing restrictions. The FFmpeg library has to be downloaded and set up only once and 3D Slicer will remember its location.
Windows setup instructions
- Download ffmpeg from here: https://ffmpeg.org/download.html (click Windows icon, select a package, for example 'Download FFmpeg64-bit static')
- Extract downloaded package (for example, to C:\Users\Public)
- In Advanced section, ffmpeg executable: select path for ffmpeg.exe (for example, C:\Users\Public\ffmpeg-20160912-bc7066f-win32-static\bin\ffmpeg.exe)
MacOS setup instructions
- Install homebrew (from http://brew.sh/)
- Run: brew install ffmpeg
- In Advanced section, ffmpeg executable: select /usr/local/bin/ffmpeg.
Linux setup instructions
Run these commands from the terminal:
git clone https://git.ffmpeg.org/ffmpeg.git ffmpeg
cd ffmpeg
sudo apt-get install libx264-dev
./configure --enable-gpl --enable-libx264 --prefix=${HOME}
make install
The binary will be in ${HOME}/bin/ffmpeg